DIY Security Alarm System: A Practical Guide to Protect Your Home on a Budget
Contents
A burglary takes seconds, but the feeling of being watched over can last all day. Many people want better home security but hesitate at the cost and complexity of professional alarm systems. A DIY security alarm system offers a middle path: strong protection, clear alerts, and control in your hands without monthly contracts or pushy sales calls. With a few smart choices and some careful setup, you can build a system that fits your home, your budget, and your comfort with tech. This guide walks through what a DIY alarm system is, how it works, and how to set one up step by step so you can feel safer at home without overspending.
What Is a DIY Security Alarm System and Why Use One?
A DIY security alarm system is a set of sensors, sirens, and control devices that you buy, install, and configure yourself instead of hiring a security company. You decide what to protect, where to place devices, and how the system reacts to an intrusion. Many kits connect to your phone so you can arm, disarm, and receive alerts from anywhere with an internet connection.
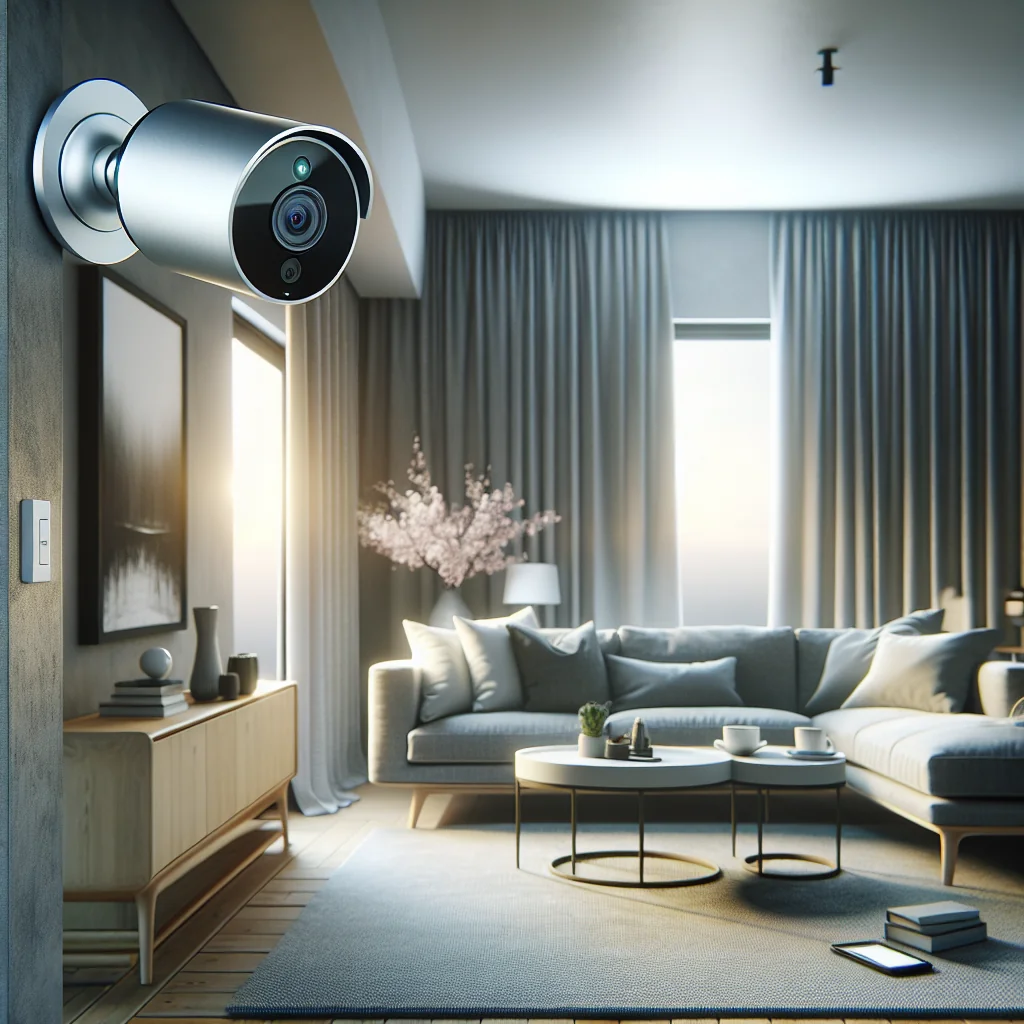
These systems focus on detecting unusual activity and making noise or sending alerts fast. Door and window contacts tell you when an entry point opens. Motion sensors notice movement inside. Some systems add cameras, glass-break sensors, and smoke or water leak detectors for wider coverage. You can start small and add more parts over time as your needs grow.
People choose DIY alarm systems for several clear reasons:
- Lower long-term cost compared to traditional monitored systems.
- Flexibility to add, move, or remove devices without service visits.
- Direct phone alerts instead of relying only on a call center.
- No long contracts or early termination fees.
- Better understanding of how your security works because you built it.
Once you understand these core benefits, it becomes easier to plan a setup that feels right for your home and daily routine.
How to Plan and Build a DIY Security Alarm System
A good DIY alarm system starts with a clear plan, not with random gadgets in your cart. Think about your home layout, weak points, and how you move through your space during the day and at night. Then choose parts and a setup process that match your habits, not the other way around.
1. Plan Your Coverage and Choose the Right Components
Begin by walking through your home as if you were an intruder. Look at doors, ground-floor windows, basement entries, and any dark corners where someone could hide. Note which areas are easy to reach from the street or backyard and which are hidden from neighbors’ view. These spots are your priority for sensors.
Most DIY alarm systems include a few core components. Understanding each one helps you avoid buying extras you do not need:
Control hub or base station: This is the brain of the system. It connects to your sensors and often to your Wi‑Fi router. Some hubs include a built-in siren and backup battery so the system keeps working during a power cut.
Entry sensors (door/window contacts): These come in two parts. When the door or window closes, the two pieces line up. When it opens, they separate and trigger an alert. Place them on all main doors and on any windows that are easy to reach from outside.
Motion sensors: These detect movement in a zone, usually a room or hallway. Install them to watch over areas that an intruder must pass through, such as a main hallway, living room, or stairs. Aim them away from heating vents and direct sunlight to reduce false alarms.
Sirens: A loud siren scares intruders and alerts people nearby. Many hubs include one, but extra standalone sirens placed near doors or in hallways can increase coverage. Battery-powered sirens continue to work even if someone cuts the power.
Keypads and key fobs: Keypads let you arm and disarm the system with a code. Key fobs or tags offer quick arming and disarming without a phone. Place keypads near main entry doors so you can reach them easily when you come and go.
Optional extras: These include smart locks, cameras, glass-break sensors, and environmental sensors for smoke, carbon monoxide, or water leaks. Start with essentials, then add these once your core alarm system runs smoothly.
2. Step-by-Step Setup: From Unboxing to First Test
Once you have your kit, clear a table and lay everything out. Check the parts list, install batteries, and skim the quick-start guide. Many systems have a companion app that walks you through the process with on-screen prompts, which makes setup easier even if you are new to this.
Step 1: Set up the hub. Place the hub in a central indoor location with good Wi‑Fi reception. Avoid hiding it in a metal cabinet or behind large appliances, which can block signals. Plug it into power and your router if needed. Complete any app-based setup, such as creating an account and naming your home.
Step 2: Add and name sensors. Use the app or hub interface to add each sensor one by one. Give each a clear name such as “Front Door,” “Kitchen Window,” or “Hallway Motion.” Clear names help you react quickly when you get an alert at 2 a.m. and need to know exactly which area triggered it.
Step 3: Mount entry sensors. Clean the surface, then stick or screw the two parts so they line up when the door or window closes. Leave a small gap as recommended in the instructions, usually a few millimeters. Test each one by opening and closing the door or window and watching for an alert or chime.
Step 4: Position motion sensors. Mount motion sensors at about chest or head height, aimed across a room rather than straight at a door. This gives them more time to detect movement. If you have pets, look for “pet-friendly” sensors and follow the guidance for height and angle to avoid constant false alarms.
Step 5: Install sirens and keypads. Place sirens where they are hard to reach but easy to hear, such as high on a wall or near stairwells. Mount keypads near the main entry door and any secondary doors your family uses often. Test that you can reach them in time during the entry delay before the alarm sounds.
Step 6: Configure modes and alerts. Most systems have modes like “Home,” “Away,” and “Night.” In “Home,” you may arm only doors and windows. In “Away,” you arm all sensors. Adjust entry and exit delays so you have enough time to leave and enter without triggering the alarm, but not so long that an intruder gets a free minute inside.
After you mount and configure everything, run a full test. Arm the system and trigger each sensor on purpose: open doors, walk past motion detectors, and listen to the siren. Check that your phone receives alerts quickly and that you can disarm the system without confusion.
3. Maintenance, Testing, and Long-Term Reliability
A DIY alarm system is not a “set and forget” gadget. It needs light maintenance to stay reliable. Schedule a quick monthly check to keep everything in good shape. Set a reminder on your phone or calendar so you do not skip it.
During your check, test each sensor by triggering it and watching for alerts. Many apps include a “test mode” so you can do this without setting off the full siren. Listen for weak or delayed beeps, which may signal low batteries or signal issues. Replace batteries as soon as you see a low-battery warning instead of waiting until they die.
Dust sensors with a soft cloth, especially motion detectors and sirens. Dirt and cobwebs can interfere with detection. For Wi‑Fi-based systems, make sure your router firmware is up to date and that your hub still has a strong signal. If you change your Wi‑Fi network name or password, update the hub settings right away so your alarm does not go offline without you noticing.
Finally, review your settings after any big change in your home. New pets, roommates, renovations, or a moved piece of furniture can affect how sensors work. A quick adjustment today can prevent false alarms or blind spots tomorrow.
DIY Alarm vs Professional System: Cost and Feature Comparison
Choosing between a DIY alarm and a professional system often comes down to cost, control, and how much effort you want to put into setup. The table below gives a clear side-by-side look at key differences.
| Factor | DIY Alarm System | Professional System |
|---|---|---|
| Upfront Equipment Cost | $150–$500 (typical starter to mid-size kit) | $0–$300 (often subsidized with contract) |
| Monthly Fees | $0–$25 (optional app or cloud storage) | $25–$60 (monitoring and service) |
| Installation | Self-install, no labor cost | Professional install, may include install fee |
| Control and Customization | High; you choose and place all devices | Moderate; changes often need service visits |
| Monitoring Type | Self-monitoring via app; optional pro add-ons | 24/7 monitoring center calls you and emergency services |
| Scalability | Easy to add or move sensors over time | Possible but may require technician and extra fees |
| Technical Skill Needed | Basic comfort with apps and simple tools | Low; installer handles setup |
| Contract Commitment | Usually none or month-to-month | Commonly 24–36 month contracts |
DIY systems shine for people who want control, flexibility, and lower long-term cost, and who are willing to handle alerts themselves. Professional systems suit those who prefer a hands-off approach and value a monitoring center that calls emergency services automatically. Some DIY brands now offer optional monitoring plans, which can give you a mix of both approaches if your needs change.
Common Mistakes and Advanced Tips for DIY Alarm Success
Many DIY alarm issues come from small oversights rather than bad hardware. Avoiding a few common mistakes can dramatically improve your system’s reliability and reduce false alarms that annoy your family and neighbors.
- Place sensors based on real entry risks, not just convenience.
- Test every device after installation and again each month.
- Adjust motion sensors to account for pets and heating vents.
- Set clear user codes and teach all household members how to arm and disarm.
- Use strong, unique passwords and enable two-factor authentication in the app.
- Label and document your setup so you can troubleshoot quickly later.
- Review and fine-tune notification settings to avoid alert fatigue.
As you get comfortable, you can add advanced touches. For example, connect your alarm to smart lights so hallway lights turn on if a motion sensor triggers at night. Use different chimes for different doors so you know by sound which one opened. Set up separate codes for guests or cleaners and delete them when they no longer need access. These small details help your DIY alarm system blend into daily life instead of feeling like a constant source of stress.
Conclusion
A DIY security alarm system gives you direct control over how your home is protected, from the first door sensor to the last motion detector. By planning your coverage, choosing sensible components, and taking the time to test and maintain the system, you can reach a security level close to many professional setups without long contracts or heavy monthly fees. The key is to treat the system as part of your routine, not as a gadget you install once and forget.
With a clear plan, careful placement, and regular checks, your DIY alarm can act as a quiet guardian in the background, ready to alert you when something is wrong and helping your home feel like a safer place to live.